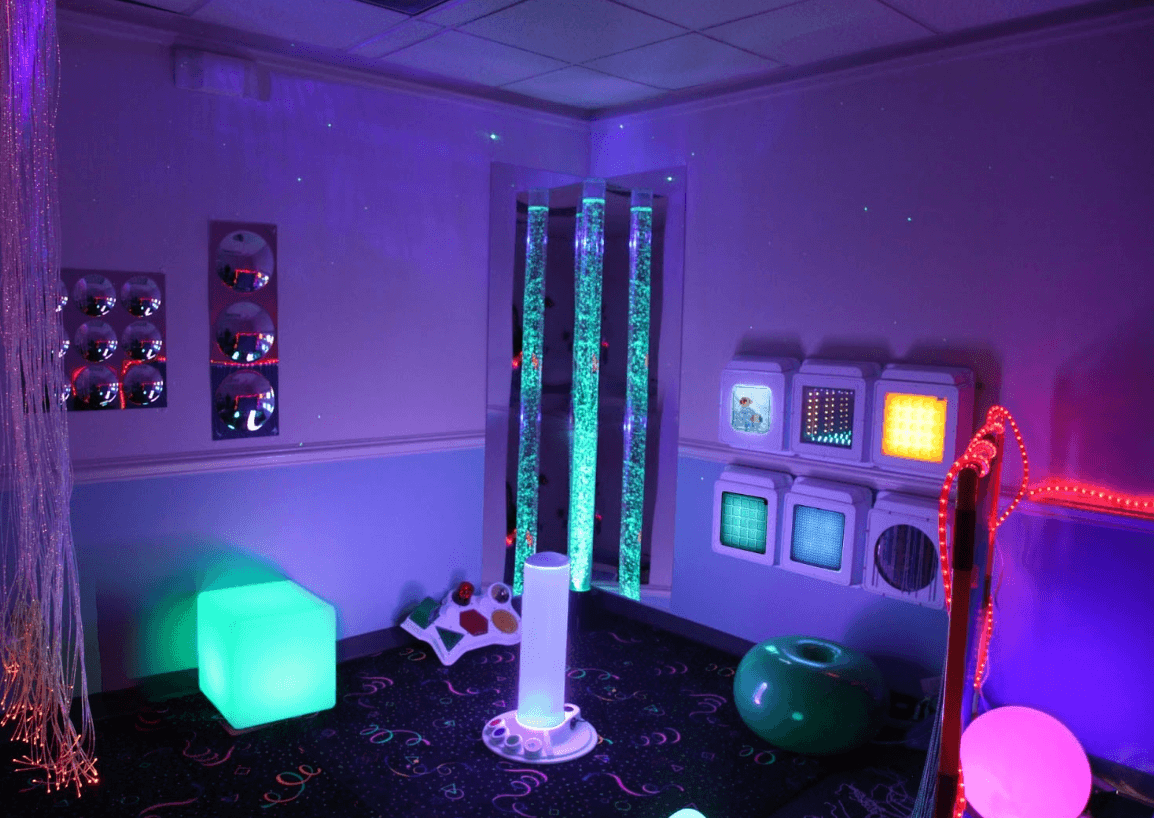
Indoor play is an important part of a child's development, providing opportunities for them to explore, learn, and use their imagination. While there are plenty of commercial toys and play structures available, building a DIY sensory play space at home can be a fun and rewarding project that provides many benefits for children.
A DIY sensory play space is a dedicated area where children can explore and engage with different sensory experiences, such as sight, sound, touch, taste, and smell. These spaces can be as simple or as complex as you like, and can be created using a variety of materials and items that you probably already have around the house.

Some ideas for building a DIY sensory play space might include:
- A "touch and feel" station with a variety of textured materials, such as sand, water, beans, and foam
- A "sound and sight" station with musical instruments, light-up toys, and other noisemakers
- A "taste and smell" station with edible and aromatic items, such as fruit, spices, and herbs
- A "movement and balance" station with climbing, crawling, and balance challenges
What could I put in my DIY sensory tent?
A DIY sensory tent for children's playtime is a fun and creative project that can provide hours of entertainment and learning opportunities for kids.
To create a sensory tent that is both enjoyable and educational, here are some items you might consider including:
-
Soft cushions and Pillows: Soft and comfortable items like cushions and pillows can create a cozy and inviting atmosphere in the tent. They can also be used for seating or as props for imaginative play.
-
Textured Fabrics: Adding different textured fabrics, such as silk, fur, or velvet, can provide a tactile experience for kids to explore. This can be especially helpful for children who have sensory sensitivities.
-
Light Projector: A light projector can create a magical and calming environment in the tent. You can use it to project colourful images or relaxing scenes, such as stars or waves.
-
Musical Instruments: Adding musical instruments like shakers, maracas, or tambourines can provide an auditory experience for kids to explore. They can also be used for musical play and to encourage creativity.
-
Sensory Toys: Sensory toys, such as squishy balls, beanbags, or bubble wrap, can provide a variety of tactile experiences for kids to explore. They can also help to develop fine motor skills and coordination.
-
Reading Material: Including books, magazines, or comics can provide a quiet and calming activity for kids to enjoy in the tent. They can also be used as props for imaginative play or as a way to encourage reading.
- Fun Props: Adding fun props, such as toy animals, dolls, or pretend food, can encourage imaginative play and creativity. You could even match your props and toys to a theme so that each day there are new play opportunities for the children.
By incorporating these items into your DIY sensory tent, you can create a fun and educational play environment for children. Just remember to always supervise kids while they play to ensure their safety and enjoyment.

Where should I locate my child's DIY sensory tent?
The location of your child's DIY sensory tent is an important consideration for both safety and enjoyment. Here are some things to keep in mind when choosing a location:
1. Space: The tent should be located in a space that is large enough to accommodate the tent and any accompanying items, such as cushions and pillows. Make sure there is enough room for kids to move around freely and play without bumping into furniture or other objects.
2. Safety: The tent should be located in a safe area, away from any potential hazards such as sharp corners, sharp edges, or tripping hazards. It's also a good idea to avoid areas near open flames, such as fireplaces or candles.
3. Privacy: Consider placing the tent in a quiet and private area, away from any distractions or disturbances. This can help create a peaceful and calming environment for kids to play in.
4. Accessibility: The tent should be located in an area that is easily accessible for kids. It should be placed at a height that is comfortable for kids to enter and exit, and there should be clear pathways to the tent.
5. Natural Light: If possible, place the tent in an area that receives natural light. This can help to create a bright and cheerful environment for kids to play in.
6. Convenience: Finally, consider the convenience of the location. The tent should be located near outlets for any electrical items, and it should be easily accessible for storage when not in use.
By considering these factors when choosing a location for your child's DIY sensory tent, you can create a safe and enjoyable play environment for them.
Advantages of building a DIY sensory tent for your child
There are many advantages to building a DIY sensory play space for children. First and foremost, it provides a dedicated space for children to explore and engage with their senses, which can be an important part of their development. Sensory play can help children learn about the world around them, improve their fine motor skills, and develop their creativity and imagination.
In addition to its developmental benefits, a DIY sensory play space can also be a great way to keep kids entertained and active during the winter months, when it might be too cold to go outside. These spaces can be set up indoors and provide a cozy and stimulating place for kids to play and learn.
Finally, building a DIY sensory play space can be a fun and rewarding project for the entire family. It provides an opportunity to work together, be creative, and have fun, all while creating a special space for children to enjoy.
Overall, a DIY sensory play space is a fantastic addition to any home, providing endless opportunities for exploration, learning, and creativity for children.


